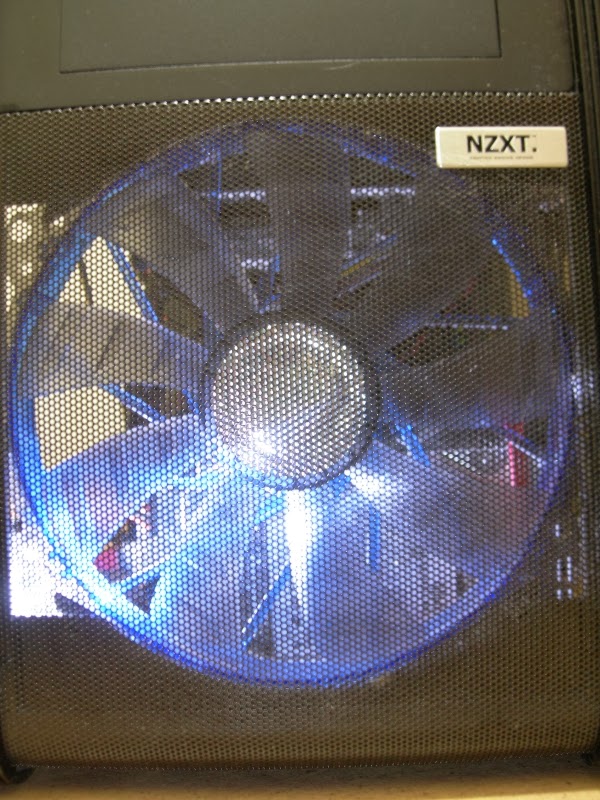
Recently, it came to my attention that the fan started to develop noticeable bearing noises, and the rotation speed has dropped a bit. This is a clear sign of forthcoming failure. It would be wise to seek a replacement before the fan stops running.

The replacement is a Cooler Master FA20030M12SFC. Compare to the BitFenix fan, this one is heavier, and the blades rotate much smoother. The diameter is slightly larger, even-though it is marketed as a 200mm fan. Upon powering up, I found that the speed is almost 800 RPM, slower than the BitFenix.
Like the BitFenix fan, the mounting holes of the Cooler Master fan is not designed for my NZXT chasssis. As illustrated in the picture below, the mounting holes on the original NZXT fan (left) and the Cooler Master fan (right) are not exactly the same.

Fortunately, the difference in location is small enough that one can "fix" with a drill.

Once the modification has been completed, the installation is a piece of cake.

Now, with a replacement fan running, it is time to think about what I should do with that BitFenix fan.
As mentioned earlier, the fan motor is not working well anymore. The culprit is probably the sleeve bearing, a critical and non-user-serviceable component. To most people, this fan is considered as trash. Not me though.
The Transplant
The fact is that, if one can swap in a new bearing assembly or a new brushless DC motor, the fan will be in full working order. I knew there is no way of repairing the existing motor, so the best course of action is to install a suitable motor and reuse the existing frame and rotor.

After a brief cleaning of the fan with a damp cloth, I began with the disassembling of the fan. The rotor and shaft are secured with a C-clip. Once the clip is disengaged, the rotor can be pulled out.

The motor assembly (on a circuit board with wires) and bearing are the next to go. The plastic protrusion that forms the bearing housing and motor mount will then be cut off.

The rotor needs a bit of surgery as well. The permanent magnet ring and the metal shaft in the centre must be removed.

With the help of a butane lighter and a pair of pliers, the shaft is seperated from the plastic construction. The hole in the middle, formed by melting and drilling and filing, is covered with electrical tape for the next step.

The DC brushless motor I picked for this transplant procedure is from a high-quality fan. It is an old, made-in-Japan, Sanyo Denki Mini Ace 92mm x 25mm fan that I already have in my collection. Here is a page of the datasheet:

This fan is a prime candidate since its motor size fits perfectly with the BitFenix fan rotor. Moreover, it is a ball-bearing fan with exceptional smoothness.

Since the fan will be coupled to the BitFenix fan rotor, its original frame must be removed. The blades on its rotor will need to go as well. Once these steps have been completed, I will utilize 2-part epoxy adhesive to join the motor (the part with the label) to the frame of the BitFenix fan.

As illustrated above, the motor has been glued to the frame. Hot-glue is then used to fill the "trench" around the motor.
The blades off the fan are seen in the foreground.

The epoxy adhesive sets quickly, and dries to a milky white color. Extreme care must be taken to keep the parts centered, since the permanent bond from the epoxy is almost impossible to undo. I have used electrical tape to cover the hole in the center, so that no adhesive will leak into it. A few drops of sewing machine oil into that hole will keep this motor running smoothly for a long time.

The rotor and blades of the BitFenix fan is glued to the Sanyo Denki motor with 2-part epoxy adhesive as well. The hole in the middle was blocked with electrical tape to prevent the adhesive from leaking out.

With the two parts secured joined together in the right place, I put the original oil cap and Sanyo Denki label on the back.

Lastly, I mounted it back in my NZXT PC chassis. Due to the larger rotor and resultant air resistance, the Sanyo Denki motor does not drive the BitFenix rotor at the original 2xxx RPM. Rather, it runs at a gentle 8xx RPM, which is close to the original speed of the BitFenix fan.
